Maintaining and cleaning bathroom ceiling downlights is essential for ensuring their longevity and optimal performance. Neglecting regular maintenance can lead to various issues, such as diminished lighting quality, electrical problems, or even potential hazards. In this article, we will guide you through the precise steps to maintain and clean your bathroom ceiling downlights effectively.
Section 1: Understanding Bathroom Ceiling Downlights
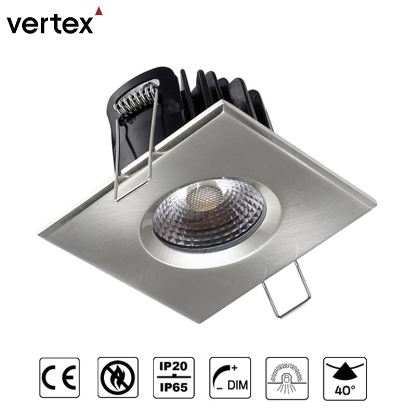
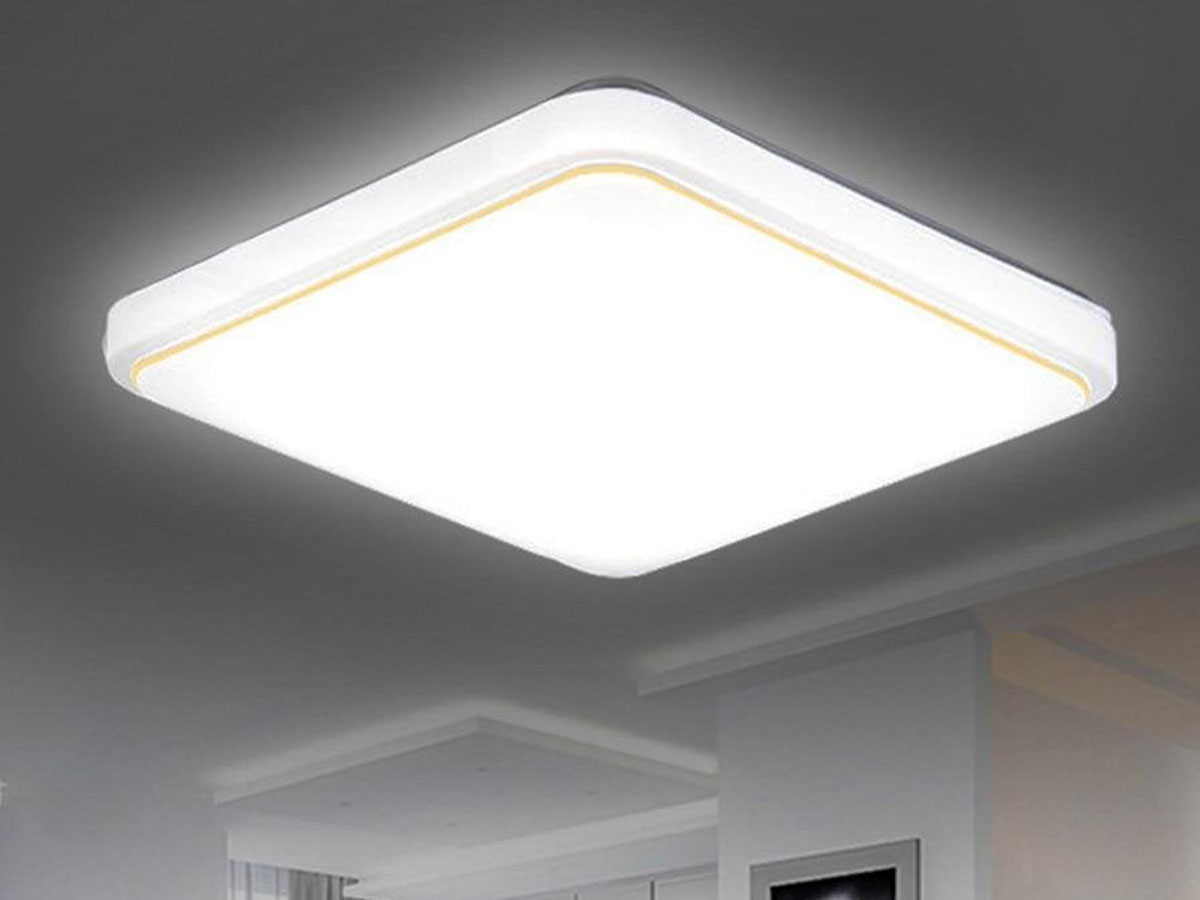
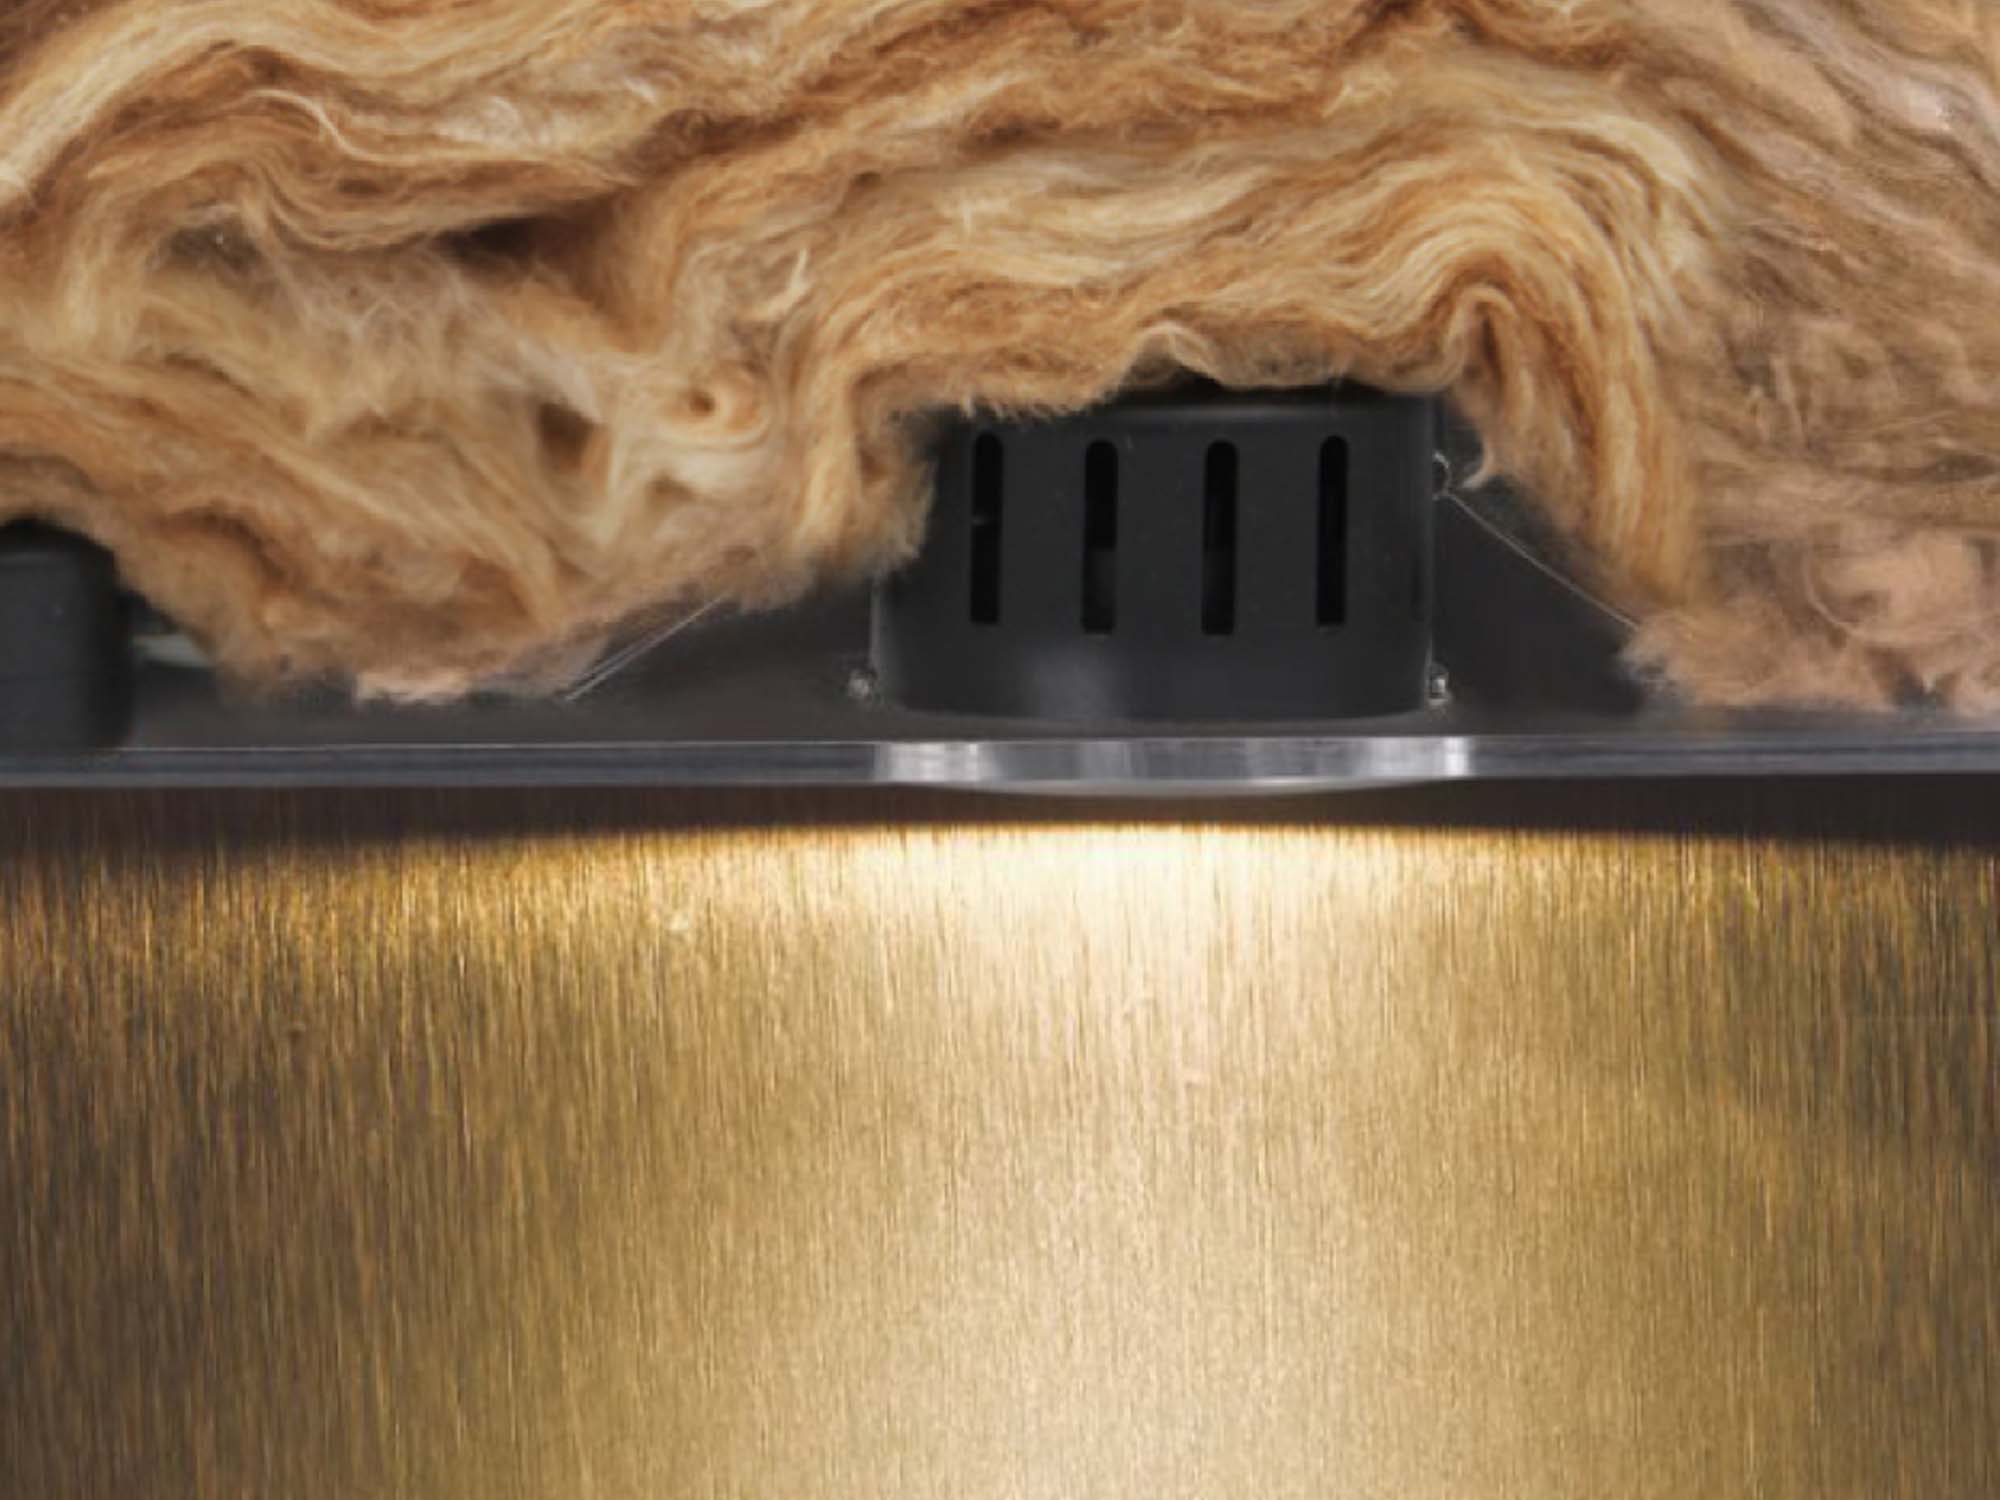
Bathroom ceiling downlights are lighting fixtures that are recessed into the ceiling, providing a sleek and modern lighting solution. There are different types of downlights available, including LED downlights and halogen downlights, each with its own advantages. These fixtures are specifically designed for bathroom use, offering both functional and aesthetic benefits.
Section 2: Safety Precautions
Before you start any maintenance or cleaning procedures, it is crucial to prioritize safety. Here are some essential safety precautions to follow:
Always turn off the power supply to the downlights before performing any maintenance.
Use a voltage tester to ensure that the power is completely switched off.
Avoid touching the downlights when they are energized to prevent electric shock.
Always turn off the power supply to the downlights before performing any maintenance.
Use a voltage tester to ensure that the power is completely switched off.
Avoid touching the downlights when they are energized to prevent electric shock.
Section 3: Regular Inspection and Maintenance
Regular inspections are vital for identifying any issues with your bathroom ceiling downlights. Follow these steps for effective maintenance:
●Visually inspect the downlights for signs of damage, discoloration, or deterioration.
●Check for loose connections or wiring issues that may affect the functionality of the downlights.
●Test each downlight to ensure it is operating correctly and providing the desired illumination.
●Visually inspect the downlights for signs of damage, discoloration, or deterioration.
●Check for loose connections or wiring issues that may affect the functionality of the downlights.
●Test each downlight to ensure it is operating correctly and providing the desired illumination.
Section 4: Cleaning Procedures
Cleaning your bathroom ceiling downlights will help maintain their appearance and ensure optimal lighting. Here's a step-by-step guide:
Step 1: Turn off the power supply to the downlights and allow the bulbs to cool.
Step 2: Carefully remove the downlight cover or trim, following the manufacturer's instructions.
Step 3: Clean the cover and trim using a mild detergent or cleaning solution. Avoid abrasive cleaners that may damage the surface.
Step 4: Clean the inside of the downlight housing using a soft, dry cloth or a gentle vacuum cleaner attachment.
Step 5: Ensure that all components are completely dry before reassembling the downlight.
Section 5: Dealing with Stubborn Stains or Grime
Sometimes, downlight covers may accumulate stubborn stains or grime. Here are some tips for effectively addressing them:
●Use a gentle cleaning solution specifically designed for the material of the downlight cover.
●For grease or oil stains, a mild dish soap solution can be effective.
●Avoid using harsh chemicals or abrasive scrubbers that can scratch or damage the cover surface.
●Use a gentle cleaning solution specifically designed for the material of the downlight cover.
●For grease or oil stains, a mild dish soap solution can be effective.
●Avoid using harsh chemicals or abrasive scrubbers that can scratch or damage the cover surface.
Section 6: Maintenance of Bulbs and Other Components
Proper maintenance of bulbs and other downlight components ensures optimal performance. Consider the following guidelines:
●When replacing bulbs, ensure they are compatible with your downlights and follow the manufacturer's recommendations.
●Choose energy-efficient LED bulbs, which have a longer lifespan compared to traditional incandescent or halogen bulbs.
●Periodically check and clean other components, such as springs or gaskets, to ensure they are in good condition.
Section 7: Addressing Common Issues and Troubleshooting
Some common issues may arise with bathroom ceiling downlights. Here are steps to identify and troubleshoot them:
Flickering lights: Check for loose connections, damaged wiring, or incompatible bulbs. Tighten connections or replace faulty components as needed.
Dim or uneven lighting: Clean the downlights thoroughly, ensuring there is no dust or debris obstructing the light output. If the issue persists, consult a professional electrician.
Water leaks or condensation: Inspect the housing for any signs of water intrusion or condensation. If present, it may indicate a seal or insulation problem. Seek professional assistance to resolve the issue.
Section 8: Preventive Measures
To avoid future problems with your bathroom ceiling downlights, consider the following preventive measures:
●Establish a regular cleaning and maintenance schedule to ensure the downlights are kept in optimal condition.
●Wipe down the downlights periodically to prevent dust and dirt buildup.
●Minimize moisture in the bathroom by using exhaust fans or ensuring proper ventilation.
●Establish a regular cleaning and maintenance schedule to ensure the downlights are kept in optimal condition.
●Wipe down the downlights periodically to prevent dust and dirt buildup.
●Minimize moisture in the bathroom by using exhaust fans or ensuring proper ventilation.
Conclusion
Maintaining and cleaning your bathroom ceiling downlights is crucial for their longevity, performance, and safety. By following the guidelines outlined in this article, you can ensure that your downlights remain in excellent condition. Regular inspections, proper cleaning procedures, and adherence to safety precautions will help you enjoy the benefits of well-maintained bathroom ceiling downlights for years to come.


